
Gardening
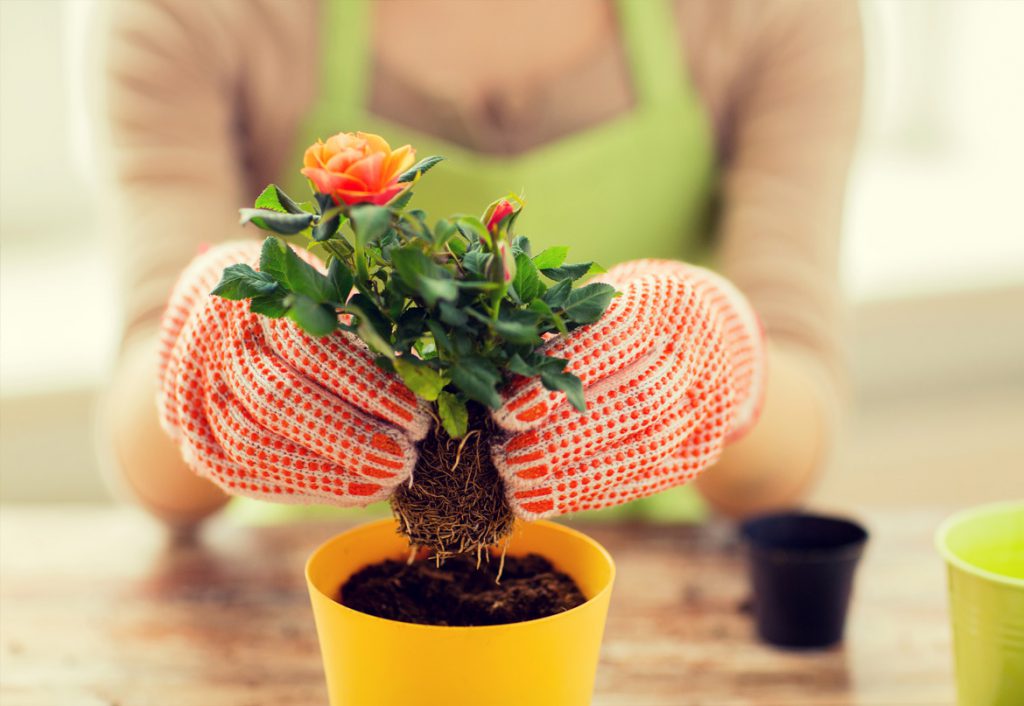
How To Grow Roses From Cuttings
Did you know that you can start new rose bushes from cuttings of your existing roses? The idea of growing roses from cuttings, also known as propagating roses, is fairly simple though can be tricky to execute.
The process involves taking cuttings of healthy stems of roses from this year’s crop and placing them in soil for several weeks as new roots begin to grow. Follow our step-by-step guide on how to grow roses from cuttings and see how your rose bushes flourish this season.
1. Choose the rose cuttings you want to use
You might have a few successful rose bushes that have beautiful flowers, but in order to successfully propagate roses, you’ll need to choose cuttings that are from this year’s crop. Select the ones that are the healthiest and strongest and have at least 6 to 8 inches of stem for you to cut.
2. Use a sharp pair of secateurs to cut your stems
As with any gardening task, it’s important to use proper tools. Use a sharp pair of secateurs to cut your chosen cuttings at a 45-degree angle just above the first set of leaves. Make sure there is at least 6 to 8 inches of stem.
3. Prepare your cuttings to be planted
Ideally, you will be ready to put your cuttings into soil right after you’ve cut them, but if you’re not, make sure you put the stems into the water right away to help them stay hydrated until you’re ready to plant them.
If you’re ready to plant them, start by removing all of the leaves except the ones at the very top by the rosebud. Then, use your secateurs to make small cuts in the bottom of the stem about a quarter of an inch high. The goal is to expose the cambium layer, where the roots will be produced from.
Dip the bottom of your stems into a rooting hormone powder. This will help stimulate root growth and increase the success rate of your propagation.
4. Plant your rose cuttings
Whether you choose to plant your cuttings in flower beds or in individual pots, you want to ensure the soil is a mixture of sand and horticultural grit and does not include fertiliser. You want the roots to come out to look for food. No matter the location you choose, make sure the soil is loose, able to drain and at least 4 to 6 inches deep.
Use a pencil or something similar in size to your rose stems to poke holes in your soil and create spaces for your cuttings that are about half the length of the stems. Place each stem that’s been dipped in rooting powder into a hole and push the soil around the stem to close the hole.
If you’re growing roses from multiple cuttings, create rows that are spaced about 6 to 8 inches apart to ensure each cutting has ample room to grow its new roots.
5. Look after your cuttings
Water your rose cuttings frequently to keep them moist and hydrated. If the weather is hot, you may need to water them several times a day.
You may want to create a mini-greenhouse effect by placing a plastic bag or clear jar around the cutting after each time you water it. Your mini greenhouses will help hold humidity in, but if they are in a hot, sunny area, you’ll need to be mindful of how much sun they’re getting so they don’t die. You don’t want your cuttings or leaves to be touching the material that you’re using for your mini greenhouses as this can cause mould. If you’re using a plastic bag, consider using stakes to keep the bag from touching your cuttings.
Continue watering your plants and after a few weeks, you can check whether roots have started to take hold. Gently pull on your cuttings and if there is resistance, that means there are roots developing.
Once your roses have taken root well, you can move them to their permanent locations in your garden or rose beds.
Learning how to grow roses from cuttings is a great skill to have in your gardening arsenal. It allows you to repurpose and propagate your existing, healthy flowers for the upcoming season. To see our collection of roses for your garden, shop online or stop by Arboretum today!


Related posts

Gardening
Our April A-List Offer is a Beautiful Elho Pot
Our April A-List gift-with-purchase comes at the perfect time.
Gardening
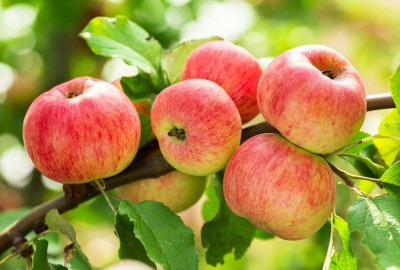
Growing Your Own Fruit Trees
You would be surprised at just how many people think growing fruit trees is difficult and time-consuming.
Gardening
When to Plant and When to Harvest Potatoes
Potatoes, an incredible superfood that flourishes abundantly in virtually any soil type.

Gardening
January in Your Garden – Getting Ready for Spring
Get your garden ready for spring and beat the January blues!

Gardening
Autumn lawn care: what you should be doing now
Achieving a healthy-looking lawn takes a little investment at this time of year but will pay dividends come the spring, says Anne…